Several of y’all have asked me to explain how to use stainless steel rod to create custom dripping platforms for potmelts and such, so I thought I’d oblige…let me know if you have any questions.
Glassists are also scavengers–our favorite stores are Harbor Freight and Goodwill–because we’re always looking for cool stuff to use in a kiln. And the most inventive of glassists are probably the folks doing potmelts and other things that require flowing glass down from…somewhere…and into a mold/dish/kilnshelf/etc.
Glassists who cast have similar issues, but we usually build our glass reservoirs directly into the mold. That way, we can put the glass into the top of the mold and have it drip down to where we want it. There are a few problems with that approach, though:
- It doesn’t work so well with open-faced molds
- It can add considerably to the height of the mold, severely limiting the size of mold that fits into most fusing kilns
- There’s a chance that the glass will accidentally scratch the mold and drag refractory down with it, into the glass
- Sometimes the reservoir holds a limited amount of glass, forcing you to recharge the mold during firing (which is a pain)
I used to go to Goodwill or somewhere, pick up an old stainless steel BBQ grill, oven rack, or wide-holed steamer tray, and set it up above my mold with kiln furniture. You can’t always count on finding something there, though, which can force you to buy new. What you do find can wear out, bend or (horrors!) even break off and embed in the glass. Plus, once you’ve covered them in dripping glass, grills and trays can be difficult to clean.
On top of that, the holes in a grill or tray are generally fixed, so if you want to play around with varying the size of the drip apertures, you either modify the grill or you’re out of luck.
 I got interested in this when I started a series of casts combining pate de verre and transparent billet casting. The idea was to introduce very human elements–faces, hands, etc.–into otherwise clear sculptures, as in the fresh-out-of-the-mold example shown here. I wanted the translucency of the pate de verre to fade into the transparent glass.
I also wanted zones of colors in the transparent areas that shaded into each other, so that it would be difficult to tell where one stopped and another began. Ideally, they’d have some relationship to the shapes of the glass, so that I could, for example, make the glass darker to contrast with a face, and lighter where it started to blend.
I’d fill just the PdV areas of the mold, pack them well so they’d stay put. Then I’d gently drip in transparent glass, high enough up that the colors would blend together seamlessly.
 The mold, by definition, needed to be completely open-faced for the pate de verre. I wasn’t about to build a plaster reservoir on the partially filled mold for dripping in the transparent; not only would it be a monumental pain, it also risked embedding plaster in unwanted areas.
MUCH easier to simply suspend a reservoir of some kind above the glass. In fact, I could borrow potmelt techniques and simply put an old grill on some firebrick. Then I got to thinking…
If I had my own stainless steel rod, I could set up exactly the kinds of apertures I wanted. I’d seen something like that in an old Rudi Gritsch video…but what if I updated it a bit? I could put wide openings where I wanted the glass to essentially whump into the mold with little mixing, and narrower ones where I wanted to stack multiple colors to do some extra blending on the way down.
 The round rod that Rudi used could be updated too, because I was afraid it might slide around underneath the heavy glass. Sliding rods could cause the glass to drop prematurely and damage the mold, or my pate de verre packs. I decided instead to use square bar (AKA square stock).
I went online to my favorite small-quantity metals dealer, Online Metals, and picked out some 304 stainless square bar. I bought a couple dozen quarter-inch bars in 12,” 15″ and 24″ lengths, spending about $100, all told. That was more than I needed, but I wanted flexibility. I probably could have spent a third as much by seeking out stainless steel scrap and modifying it…but I didn’t want to work that hard.
I packed the pate de verre portions of the mold, first laying down powder into the wet mold (it holds like flocked velvet!). Into that I built my frit packs.
 Since the packed frit would compress considerably during firing, and I didn’t want the transparent seeping into the face or hand, I packed it as high as humanly possible.
I keep a stock of soft firebrick around the studio; they’re useful for making small carvings, propping up molds, etc. I took two of these, measured a line about 3/4 inch down from the side of one, and drilled five equally spaced quarter-inch holes about 3/4 inch deep in each. The square bar just fit inside, with a little pushing.
 Then I built my sandbed,* and carefully set the mold on kiln furniture in the sand. I stacked firebrick on either side, then set my drilled firebrick on top. I inserted the 24-inch bars into the firebrick holes. They made a surprisingly stable platform–I tested it with 30 pounds of billet and it held firm.
I was very careful to allow 3-4 inches between the firebrick and the mold; firebrick is an exceptional insulator, and I wanted to make sure enough hot air could circulate around the mold to cook the glass properly. (Even then, I was baffling the heat from the elements at either end of the kiln, so I adjusted my schedule accordingly.)
Then I laid a dozen 12-inch bars atop the frame I’d built, spacing them closer together in the center where I wanted a lot of mixing, and farther apart on the edges. I thought about securing the rods together with some stainless or nichrome wire, but they seemed sturdy enough by themselves, so I didn’t.
 I laid my glass on top of that, big chunks of Bullseye billet in different shades of blue and green, mostly copper glasses. The grid platform was stable enough that I could lay down big chunks first and place smaller on top. I was careful to stay inside the inner footprint of the mold, to prevent the dripping glass from straying outside.
And, doing that, I found another nice thing about this suspension method: I could rearrange color, chunk sizes and apertures pretty much on the fly. It was easy to see the glass and gauge just how much would fill the space directly underneath. (I was really growing to like those bars, can you tell?) 😉
Tip: I’ve learned to write out my firing schedule as I’m setting the controller program. Then I set it next to the layup in the kiln, and take a quick photograph. It records not only the schedule, but also what went where in the kiln, which can be helpful in troubleshooting later on.
Then I fired. The glass blended beautifully, and didn’t displace my pate de verre packs.** Instead, it combined subtly with the pate de verre, just the way I’d hoped. The rods stayed in place throughout; I probably didn’t need to actually drill into the firebrick to hold the base frame in place.
What’s nice about this method–aside from the ability to customize your apertures–is cleanup. As the steel cooled, the glass clinging to the bars started popping off. The glass below had already hardened enough that the shards landed harmlessly on top, where they could be vaccumed up. All I had to do was knock off a few stubborn bits of glass, and the rods were ready to use again.
I used 1/4 inch (6mm) bar with about 18-20 pounds of billet over a 24-inch span. During firing, the long base bars sagged down about a half inch or so. I’ve since learned to use thicker stock (3/8 inch) for any span longer than about 18 inches.
And that’s it. I’ve used this method successfully with potmelts and castings since then, or just about anything where I want to drip in glass from above. In fact, I’m now constructing open-faced molds with little nubs to catch and hold the bars so that I can suspend the glass directly overhead. It’s worlds easier and decreases the risk of mold damage from glass shards colliding with refractory.
*A sandbed is very useful when casting glass in molds. I generally add “legs” to my molds to get them off the kiln floor, but the sand underneath the mold makes it very easy to level. It also allows heat to circulate and, if disaster strikes and your mold springs a leak, can catch the glass before it damages the kiln. Uhm…I use the same sand over and over, so with time it fills up with refractory crud from old molds and gets kinda sloppy. But it still works.
**One note on blending: Given enough time at process temps, some glass colors will sink while others rise. I haven’t had a problem with dripping into pate de verre yet, but I can see where it might be an issue.
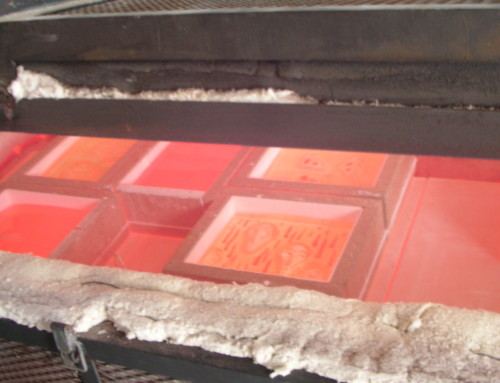
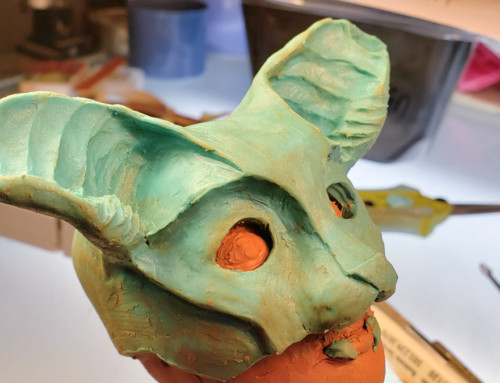
As requested, here are some closeup shots of making the suspended grid for the billet:

Thank you so much for sharing !!!
Thanks Cynthia for your generosity
Thanks for this so interesting tutorial
Great tutorial and perfectly clear. I really enjoy your work and humor.
As usual wonderful information perfect steps – thank you!
Marvelously informative in both word and image. Thanks.